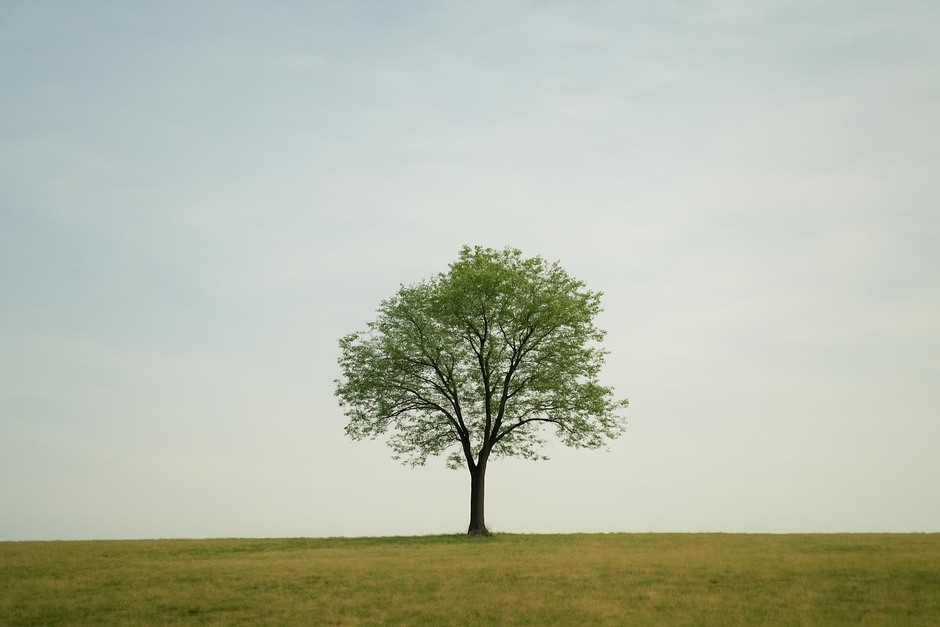
Seven Small Experiments to Train Your Eye and Hands for Outdoor Photography
This short course of seven practical experiments is designed to be done over a week or in successive sessions. Each experiment takes 20–60 minutes, focuses on a single skill, and offers neutral comparisons of simple materials and methods so you can choose what fits your routine. The goal: sharpen how you see light and translate that vision into more deliberate outdoor photos.
How to use these experiments
Pick one camera you habitually carry: phone, compact point-and-shoot, or mirrorless. Note that each has trade-offs: phones are pocketable and automatic, compacts are affordable with simple controls, mirrorless systems give manual control and lens choice but weigh more. For each experiment, try at least two methods or tools and note which results you prefer and why.
Experiment 1 — Observe light: shadows, highlights, and mood (20–30 minutes)
Objective
Learn to spot directional light and how it alters mood.
Materials and methods
- Device: phone vs compact (compare automatic exposure behavior).
- No tripod needed.
Steps
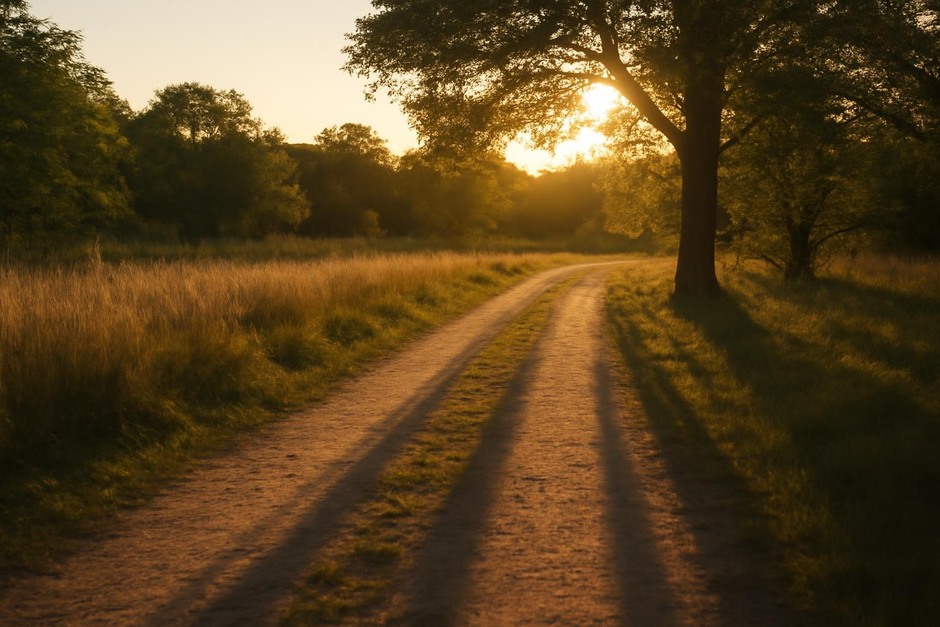
- Visit a familiar outdoor spot at one time of day (morning or late afternoon).
- Take three simple photos of the same scene: backlit, side-lit, and front-lit.
- Review the images: where do details vanish into shadow? Which lighting feels more three-dimensional?
Trade-off: phones may expose differently in backlight; compacts often blow highlights sooner. Use exposure compensation if available.
Experiment 2 — Framing and negative space (20–40 minutes)
Objective
Practice composition by turning a complex scene into a simple arrangement.
Materials and methods
- Device: any. Optionally use a small tripod to steady careful compositions.
Steps
- Find a scene with a clear subject and busy background (tree, bench, lamppost).
- Shoot three variations: centered, rule-of-thirds, and using negative space (empty sky or pavement).
- Compare which placement emphasizes the subject and which lets mood breathe.
Trade-off: a tripod makes exact framing repeatable; handheld is quicker and more spontaneous.
Experiment 3 — Control exposure: aperture vs shutter prioritization (30–45 minutes)
Objective
Understand how depth of field and motion are controlled.
Materials and methods
- Device with manual or priority modes (compact with aperture control or mirrorless; many phones have a pro mode).
Steps
- Shoot a static subject twice: first with a wide aperture (small f-number) to blur background, then with a narrow aperture (large f-number) to keep more in focus.
- Shoot a moving subject twice: once with slower shutter (motion blur) and once with fast shutter (freeze).
- Note how ISO and exposure compensation changed; consider noise when raising ISO.
Trade-off: wide apertures isolate subjects but can be unforgiving for focus; narrow apertures increase depth but may need higher ISO or tripod.
Experiment 4 — Stabilization: tripod, monopod, or handheld (20–30 minutes)
Objective
Decide what stabilization you’ll actually carry and how it changes shooting choices.
Materials and methods
- Small tripod or tabletop support vs handheld shooting.
Steps
- Shoot the same low-light scene handheld and then on a tripod with identical exposure settings.
- Compare sharpness and freedom to use smaller apertures or lower ISO on the tripod shots.
Trade-off: tripods yield sharper images and longer exposures but add weight; handheld limits exposure choices but increases mobility.
Experiment 5 — White balance and color mood (20–30 minutes)
Objective
See how white balance choices affect color temperature and mood.
Materials and methods
- Shoot in RAW if your device supports it; otherwise try different presets (Auto, Cloudy, Shade).
Steps
- Photograph a scene under consistent light using at least two white balance settings.
- Compare warmth and how colors render; note which setting matches your memory or intention.
Trade-off: RAW gives flexible correction later; JPEG depends on the in-camera setting and is quicker to share.
Experiment 6 — Close observation: details and texture (30–45 minutes)
Objective
Train attention to texture, pattern, and small details that create stronger images.
Materials and methods
- Macro-friendly lens if you have one, or move close with your phone/compact.
Steps
- Find three small subjects (leaf, stone, rust) and shoot them with side light to emphasize texture.
- Try filling the frame vs including a hint of context; decide which reads better.
Trade-off: specialized macro lenses reveal fine detail; close-focusing with a phone is convenient but may distort perspective.
Experiment 7 — Quick edit and reflection (30–60 minutes)
Objective
Learn small post-process decisions: crop, exposure tweak, and color adjustment.
Materials and methods
- Basic editing app on phone or desktop; compare editing RAW vs JPEG.
Steps
- Choose your five favorite images from the week. Make one subtle crop and one exposure or color correction for each.
- Compare how much latitude RAW gave you versus JPEG.
- Note which earlier choices (lighting, framing, stabilization) mattered most in the final edits.
After these experiments, you’ll have concrete preferences about gear and methods, plus a set of images that reflect deliberate choices. Repeat any experiment with a different time of day or season to deepen the comparison. The most useful outcome is not perfect gear or a single technique, but a clearer sense of how light, composition, and simple tools combine to make the photographs you like.